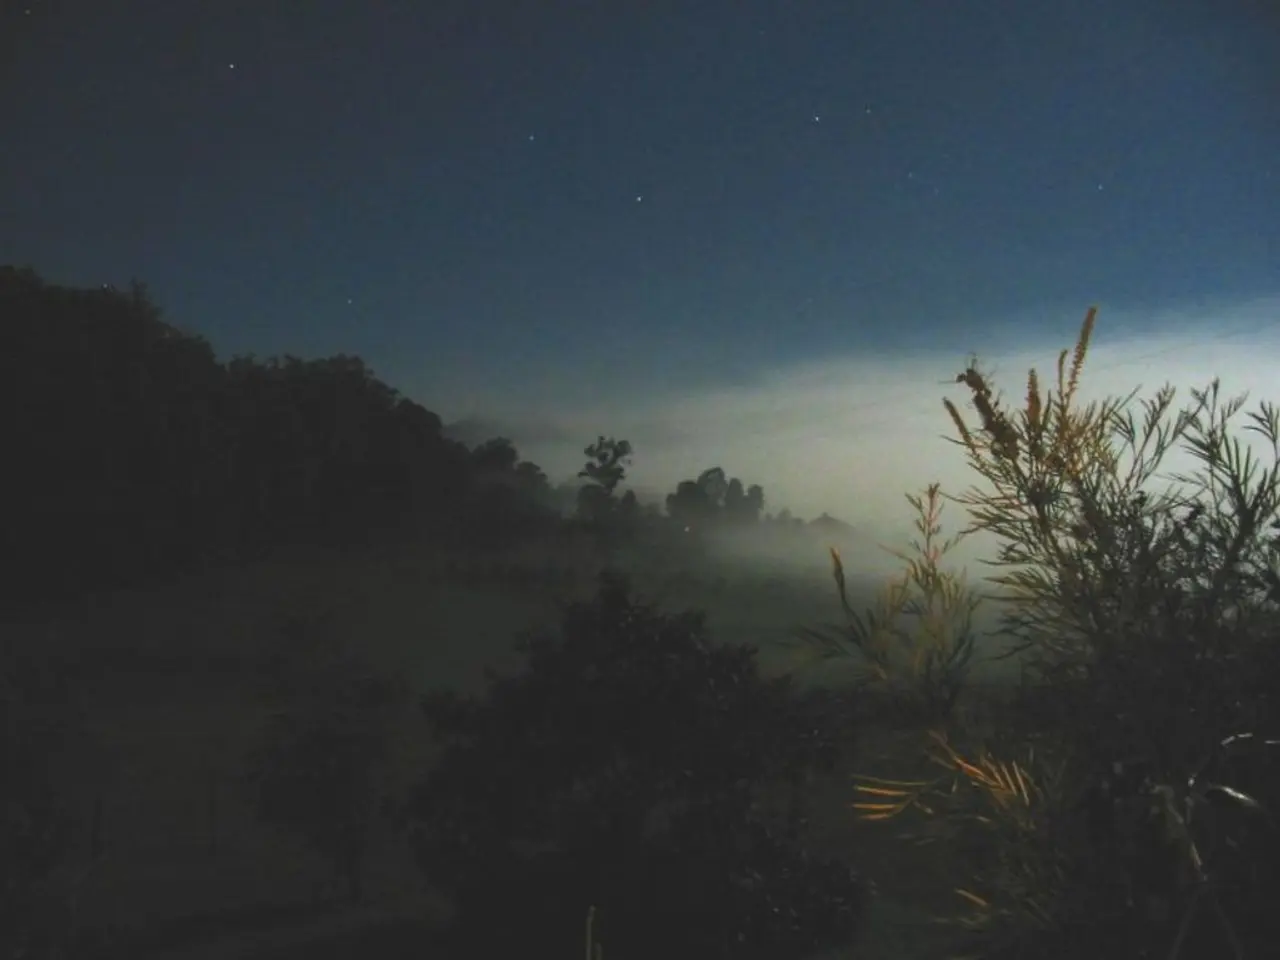
Mastering Milky Way Photography: Essential Guidelines and Tips
Embark on a celestial journey as we guide you through the essential gear, settings, and techniques required to capture breathtaking images of the Milky Way. From dark locations to sturdy tripods, mastering these elements will help you transform your night sky photography.
**Essential Camera Gear**
A camera with manual control over ISO, aperture, and shutter speed is crucial for optimising night sky exposure. Paired with a wide-angle lens, preferably between 12–20mm, this setup allows for maximum light capture in low-light conditions. A fast aperture lens, ideally f/2.8 or wider, is recommended, as it helps reduce noise by allowing more light into the camera.
A good high ISO performance in your camera is vital for reducing noise in low-light conditions. A sturdy tripod is a must to keep the camera stable during long exposures and prevent blur from camera shake. A remote shutter release or camera timer can also help improve sharpness by preventing any accidental movement when triggering the shutter.
Optional features like focus peaking and bright monitoring can be beneficial for manual focusing and framing in dark conditions.
**Recommended Camera Settings**
For pin-sharp stars, use the widest aperture your lens allows (around f/2.8 or wider) and follow the "300 rule" to avoid star trails. Divide 300 by your lens focal length to determine the maximum exposure time. For example, with a 14mm lens, the max exposure is about 21 seconds (300 ÷ 14 ≈ 21s). Start with an ISO of 1600 to 3200 depending on your camera's noise handling, and shoot in RAW for maximum post-processing flexibility.
**Additional Tips**
Find a dark location away from light pollution to capture the Milky Way's full splendour. Use a sturdy tripod and avoid any movement during exposure. Utilise camera features like Bright Monitoring to compose and focus in very dark settings. Post-process images for noise reduction and enhancing Milky Way details.
**In Summary**
The key to capturing stunning Milky Way images lies in a wide fast lens on a camera capable of manual control and high ISO, combined with a solid tripod and proper technique. Using a wide aperture, long but not too-long shutter speed, and high ISO helps balance exposure and noise.
Success in Milky Way photography depends on patience, planning, and familiarity with camera gear and settings. With the right equipment and techniques, you'll be well on your way to capturing images that transport viewers beyond their realm.
[1] For pin-sharp stars in Milky Way photography, the app suggests a shutter speed of 7.71 seconds for a Sony a7III with a 17mm focal length and f2.8 aperture, as opposed to the 500 Rule's 29 seconds.
[2] A higher megapixel count in a camera can lead to more detail in images, but sensor performance in low light at high ISO settings is also crucial.
[3] The PhotoPills app can be used to calculate shutter speed in variations for Milky Way photography.
[4] A microfiber cloth is useful for cleaning the lens in cold conditions.
[5] ISO values for Milky Way photography should be high enough for proper exposure but low enough to keep noise levels manageable, usually between 3200 and 6400.
[6] Milky Way photography can be rewarding and transport viewers beyond their realm.
[7] Some photographers use telephoto lenses to capture the night sky, often employing techniques such as taking multiple shots at low ISOs and merging them to create a high-quality composite image.
[8] Milky Way photography is a genre of astrophotography that focuses on capturing images of the night sky, specifically the core of our own galaxy.
[9] The formula for calculating shutter speed with the NPF rule is (35 x aperture + 30 x pixel pitch) ÷ focal length, where pixel pitch is measured in microns.
[10] When focusing for Milky Way photography, a faraway object or a specific bright star can be manually focused on using the camera's LCD screen.
[11] The obsolete rule of 500 for Milky Way photography applies differently to full-frame and crop sensors.
[12] The NPF rule (N = aperture, P = pixel density, F = focal length) is a more accurate rule for calculating shutter speed in Milky Way photography.
[13] Light painting in Milky Way photography can be achieved by bouncing light off the hand or using diffuse materials like tissue papers for softer lighting.
[14] There is no one-size-fits-all setting for Milky Way photography camera settings, as the exposure time depends on the focal length and sensor size.
[15] Timing and planning are essential in Milky Way photography, as ideal locations are typically far from urban areas and the lunar cycle should be considered.
[16] PhotoPills is a popular app for photographers that offers an augmented reality view of the night sky, showing when and where the Milky Way will rise.
[17] White balance can be adjusted later in post-processing for raw images, but a white balance of 4900 is preferred for cool temperatures and bluer skies in Milky Way photography.
[18] Lights and headlamps are necessary for visibility during setup and for light-painting the foreground.
[19] The hyperfocal distance can also be used for focusing in Milky Way photography, and the PhotoPills app can be used to determine it based on camera sensor size, focal length, and aperture value.
[20] Skilled Milky Way photography combines artistry, scientific knowledge, technical skills, and processing skills.
[21] For Milky Way photography, a wide-angle lens with a focal range between 10mm and 35mm and a wide aperture is preferred.
[22] A sturdy tripod is needed for long exposures in Milky Way photography.
- In milky way photography, using a wide-angle lens with a focal range between 10mm and 35mm, and a wide aperture, plays a crucial role for maximum light capture in low-light conditions.
- A sturdy tripod is essential for ensuring camera stability during long exposures and preventing blur from camera shake in milky way photography.
- For pin-sharp stars, it's recommended to follow the "300 rule" to avoid star trails, dividing 300 by your lens focal length to determine the maximum exposure time.
- Optimal camera settings for milky way photography include using the widest aperture your lens allows and a high ISO, such as 1600 to 3200, depending on your camera's noise handling.
- Advanced camera features like focus peaking, bright monitoring, and remote shutter release can enhance framing and manual focusing in dark conditions, improving your milky way photography.
- Success in milky way photography requires patience, planning, familiarity with camera gear and settings, and the importance of timing and location to capture the full splendour of the milky way away from light pollution.


